Introduction
This guide is designed to help you transition from your current Twilio Video setup to the EnableX iOS Video SDK documentation. For those starting a new project, we recommend consulting the EnableX Video SDK documentation for guidance. We ensure a smooth transition for all Twilio users looking to switch to a reliable alternative without any hassle. Begin with a free trial and experience the ease of integration firsthand.
Quick Start with EnableX Android Video Sample Applications
Explore a variety of sample applications tailored for different programming environments, including Java and Kotlin. Each sample app is available on GitHub, providing practical examples to kickstart your video calling project.
Video Calling QuickStart documentation - iOS
Step 1: Begin with EnableX
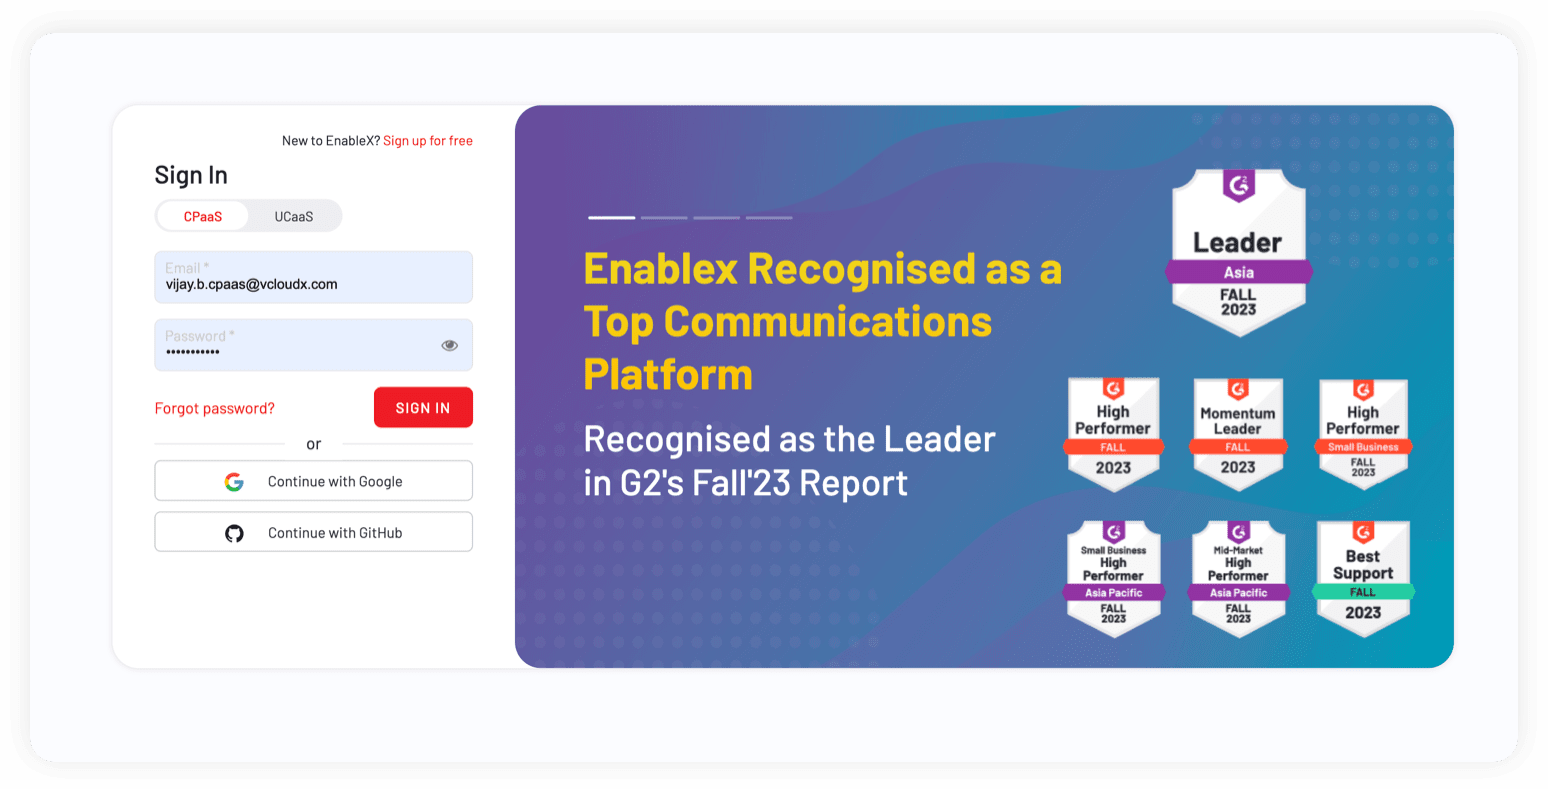
Start Your Free Trial in Minutes
We’ve got you covered with a migration path that feels familiar yet innovative.
- Sign Up Easily: Go to the EnableX portal and select Try for Free.
- Quick Registration: Provide your details; name, phone number, company, email and agree to the Terms of Service.
- Account Verification: Check your email and click the verification link.
Step 2: Set Up Your Video Calling Project
- Login to the EnableX Portal with the credentials.
-
Creating Your First Video Project with EnableX
- Create a New Project: Launch your video project with our user-friendly dashboard.
- Enable Video Service: Activate video capabilities in one simple step within your project settings.
-
Secure Your Application: App ID and App Key
- Obtain API Credentials: After project creation, we'll email your App ID and App Key.
- Reset or Resend: Easily manage your credentials within the portal, under 'Project Credentials'.
- Implementation: Use these credentials in the HTTP Basic Authentication Request Header for secure API calls.
Before diving into development, you'll need to secure your application with EnableX's authentication credentials. Here's how to get started:
Step 3: Integrate EnableX on the Client Side
Developer's Corner: Build Your Way
For integrating EnableX SDKs into your Android app:
- Remove Twilio SDK: First, remove the Twilio SDK from your project, including any related code and tags.
- Download and Extract EnableX SDKs: Download the EnableX iOS SDK and iOS Web RTC Library. Extract the files from the zip packages.
- Install EnableX SDK via CocoaPods
- Install CocoaPods following the instructions on the CocoaPods website.
- In your project directory, run pod init in the terminal.
- Add pod ' EnxRTCiOS' to your Podfile to integrate the EnableX iOS SDK.
- Run pod install in the terminal.
- Reopen your project in Xcode using the new .xcworkspace file.
- Include Socket.IO-Client-Swift
- Add pod Socket.IO-Client-Swift(15.0.0) in your Podfile as it Is required for EnableX iOS SDK.
'Socket.IO-Client-Swift', '~> 15.0.0'Step 4: Start and Join Sessions
Twilio
let connectOptions = ConnectOptions(token: accessToken) { (builder) in
                    builder.roomName = "existing-room"
                    }
                    let room = TwilioVideoSDK.connect(options: connectOptions, delegate: self)
Start and join Session with EnableX
- 1. Initialize and Join Room
- Initialize the EnxRtc object.
var enxRtc = EnxRtc() - 2. Join Room
- Use enxRtc to join a room with the required token, stream, and room information.
guard let stream = enxRtc.joinRoom(token, delegate: self, publishStreamInfo: localStreamInfo, roomInfo: roomInfo, advanceOptions: nil) else { return } -
3. Publish Stream
- On the didConnect callback, publish your local stream.
enxRoom.publish(localStream) - 4. Attach Renderer to Local Stream
- Attach EnxPlayerView to the local stream.
localStream.attachRenderer(EnxPlayerView) - 5. Subscribe to Remote Streams
- Subscribe to remote streams when didAddedStream callback is received.
enxRoom.subscribe(stream) - 6. Handle Active Talkers
- Use the Active Talker APIs to manage the display of active talkers.
func room(_ room: EnxRoom?, didActiveTalkerList Data: [Any]?) func room(_ room: EnxRoom?, didActiveTalkerView view: UIView?) - 7. End or Destroy the Call:
- Use room.disconnect () or room.destroy () to end the session as needed.
For detailed information on the features and implementation of the EnableX iOS Video SDK, please refer to the EnableX iOS Video SDK Documentation. This resource offers comprehensive insights into the capabilities of the SDK, enabling the development of sophisticated and feature-rich video conferencing solutions. If you have specific feature needs, the documentation offers valuable instructions and support.